





MacBook Pro 13" Retina A1425 Charging Port Replacement | MagSafe 2 DC-in Board (2012-2013)
MacBook Pro 13" Retina A1425 Charging Port Replacement | MagSafe 2 DC-in Board (2012-2013)
 In Stock
Regular price
NZ$19.99
Regular price
Sale price
NZ$19.99
Unit price
per
inc GST


MacBook Pro 13" Retina A1425 Charging Port Replacement | MagSafe 2 DC-in Board (2012-2013)
MacBook Pro 13" Retina A1425 Charging Port Replacement | MagSafe 2 DC-in Board (2012-2013)
In Stock
Regular price
NZ$19.99
Regular price
Sale price
NZ$19.99
Unit price
per
inc GST
DIY DIFFICULTY
ModerateAbout 1 to 1.5 hours
Bottom case, battery connector board, heat sink, both fans and logic board come out.
- Replacement MagSafe 2 DC-in charging port board with its flex cable
- Fixes a MagSafe port that won't charge, charges on and off, or shows no light on the plug
- Compatible with MacBook Pro Retina 13" A1425 (Late 2012, Early 2013)
Frequently Bought Together


Frequently Bought Together


Product Details
Is your MacBook Pro 13" Retina not charging, charging on and off, or is the light on the MagSafe plug not coming on? The MagSafe 2 port sits on its own small DC-in board (also called the DC jack or power board), so a new MagSafe 2 charging port board is usually the repair you need.
This board fits the 13-inch Retina MacBook Pro A1425 from Late 2012 and Early 2013. Got a Late 2013 to Early 2015 13" Retina? It uses the MacBook Pro 13" A1502 MagSafe 2 board.
Part Includes:
- 1x MagSafe 2 DC-in board with flex cable and connector
- 12 Month Warranty
Please Note
Does NOT fit the 13" Retina A1502 (Late 2013 to Early 2015) or the non-Retina 13" A1278 Mid 2012. Check the A-number on the bottom case for your model.
Please Note
Takes the MagSafe 2 charger, the flatter, wider plug used from 2012 onwards.
Please Note
Unlike the later A1502, the logic board has to come out on this model, along with the heat sink and both fans.
Specifications
- Part Type: MagSafe 2 DC-in charging port board with flex cable
- Printed Part Number: 820-3248-A
- Service Part Number: 923-0222
- Connector: MagSafe 2
- Condition: Brand new or A-grade genuine Apple part
- Warranty: 12 Months
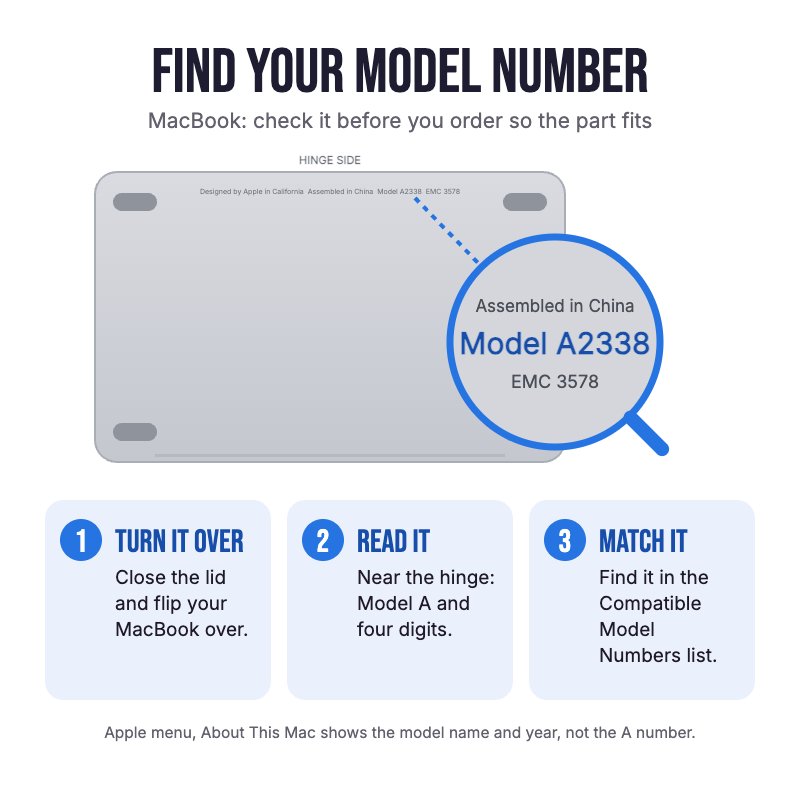
How do I find my Model number?
 MacBook Pro Retina 13" Early 2013
MacBook Pro Retina 13" Late 2012
Compatible Model Numbers
MacBook Pro Retina 13" Early 2013Model Number (A Number)
- A1425
EMC Number
- EMC 2672
 MacBook Pro Retina 13" Early 2013 How do I find my Model number?
Model Identifier
- MacBookPro10,2
Device Number (M Number)
- ME662
- MD212
More info Less info
MacBook Pro Retina 13" Late 2012Model Number (A Number)
- A1425
EMC Number
- EMC 2557
MacBook Pro Retina 13" Late 2012 How do I find my Model number?
Model Identifier
- MacBookPro10,2
Device Number (M Number)
- MD212
- MD213
- ME116
More info Less info
Installation Help

Follow the step by step guide below for assistance with this repair
iFixit MacBook Pro 13" Retina Late 2012 MagSafe DC-in Board Replacement Guide

Here are some tools you may need to help you complete the repair.
- P5 Metal Pentalobe 1.2mm Screwdriver Tool
- T5 Torx Screwdriver | MacBook Logic Board and Battery Repairs
- T6 Metal Torx Screwdriver Tool
- #00 Metal Phillips 2.0mm Screwdriver Tool (PH00)
- Or get the P5 and T5 together in our 10 Piece MacBook Repair Toolkit
- Mechanic AK-15 King ESD Anti-Static Stainless Steel Red Curved Tweezers
- Nylon Antistatic Spudger Pry Tool
- iGadget Universal Magnetic Work Project Mat with Marker (30cm x 25cm)

Here are some helpful tips to assist you in completing a safe repair on your device. If you are unsure of something or have any questions, please feel free to contact us either by phone (0508 IGADGET) or by email
- Always power down your device prior to working on it
- The 10 P5 bottom case screws are two lengths. Track your screws on a magnetic work mat or tape them to a drawing of your laptop, as several screws look alike but are different lengths
- Lift off the battery connector board (four T6 screws, three lengths) and pull the battery interposer out with tweezers. That is what isolates the battery on this model
- The heat sink comes off (five T5 screws and one #00 Phillips), so have fresh thermal paste ready
- Pull the display cable parallel to the board, as its socket is fragile. Walk the MagSafe connector out by pushing its corners alternately with a spudger
- The fans and logic board are held by T5 screws. Before screwing the logic board down, check no cable is trapped under it
What’s In The Box
- 1x MacBook Pro 13" Retina A1425 MagSafe 2 DC-in Board (2012-2013)


