


Sold Out


You have unsaved items in your cart.
If you wish to save them for a future transaction, please save your cart items by clicking here.
 In Stock


 In Stock
Held at the hinges under the bottom case. The antenna bar comes out and the display cable unplugs first.


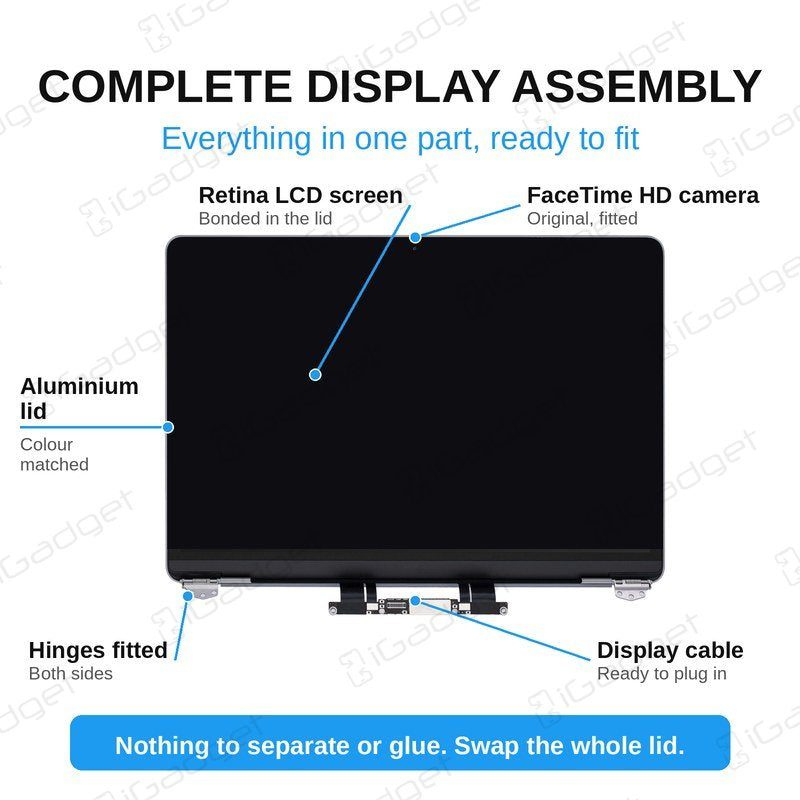
Cracked screen, lines across the display or a bent lid on your M1 MacBook Air? Replace a damaged or cracked LCD on your MacBook Air 13" A2337 (M1, Late 2020) with this complete display assembly. It is the whole lid: the 13.3" 2560 x 1600 LCD screen, the aluminium lid and bezel, the original hinges and front camera, and the display cable.
Everything comes preinstalled, so there is no panel to separate and no screen adhesive to deal with. The old display unscrews at the hinges and unplugs from the logic board, and the new one fits back the same way. Choose Space Grey, Silver or Gold to match the rest of your MacBook.
Part Includes:
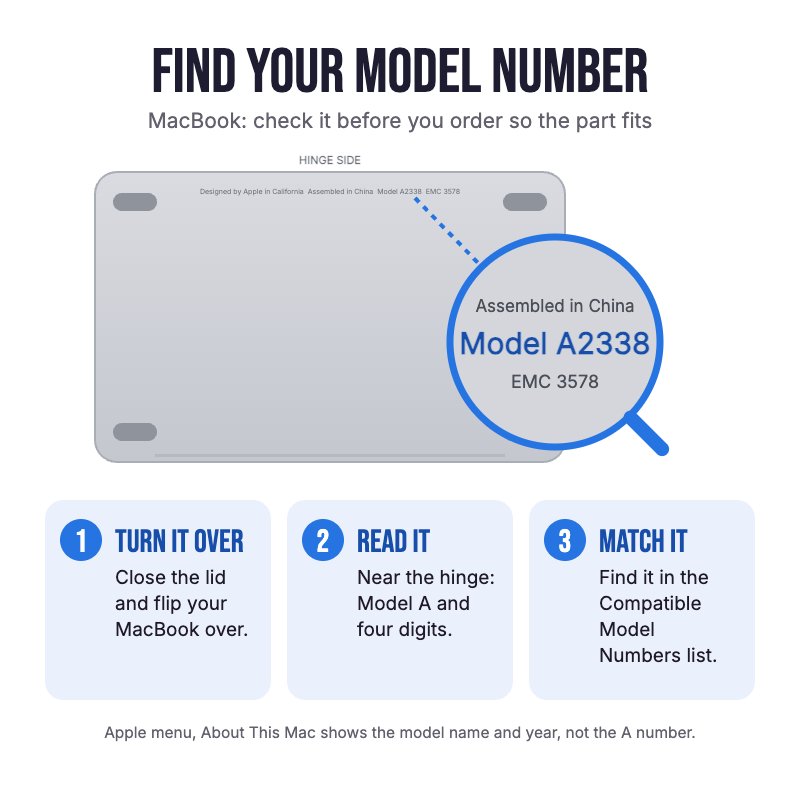
Does NOT fit the Intel A1932 or A2179, the M2 A2681 or the MacBook Pro A2338. Check the A-number on the bottom case for your model.
Fits both the 7-core and 8-core GPU M1 models.
Not an official Apple part. The screen supports True Tone, but Apple switches it off after a screen is replaced. Brightness works as normal.
 MacBook Air (M1, 2020) 13" (Late 2020)
 MacBook Air (M1, 2020) 13"

Check out the video above or the step by step guide below for assistance with this repair
iFixit MacBook Air 13" Late 2020 Screen Replacement Guide

Here are some tools you may need to help you complete the repair.

Here are some helpful tips to assist you in completing a safe repair on your device. If you are unsure of something or have any questions, please feel free to contact us either by phone (0508 IGADGET) or by email

Go to Settings > General > About. To the right of "Model Number", you can see the Device Number (M number). To see the the Model Number (A number) tap on the device number.

Find the serial number, EMC number and model number printed on the underside of your Mac near the regulatory markings. It's also on the original packaging next to a barcode label. EMC is the most accurate number to compare with our list as it takes into account the year of your device.
The original packaging might also show an Apple part number such as MNYF2xx/A ("xx/A" is a variable that differs by country or region and is not included on our list so can be disregarded)."

Go to Apple icon > About this Mac > System Report. It will automatically be selected on the hardware tab (left side). To the right, the model name and model identifier will be written on the first two lines."


To find out what model watch you have, turn your watch on

